
Last updated November 18, 2026
 Hardwood
 Engineered hardwood
 Luxury vinyl plank
 Laminate
 Porcelain tile
 Carpet
 Shaw
 Mohawk
 COREtec
 Pergo
Free in-home measure and written estimate: Shaw, Mohawk, COREtec and Pergo lines compared on your own rooms, with carpet, tile, vinyl plank, laminate and hardwood laid out side by side
Get your free estimateSubfloors Explained: What Sits Under Your New Floor
Most homeowners in Boulder City spend weeks choosing a floor and about ten minutes thinking about what goes underneath it. That order is backwards. The surface you walk on is a finished product with a fixed set of properties. The subfloor beneath it is the variable, and in this town that variable is almost always concrete. Homes here are built predominantly slab-on-grade, which means there’s no crawl space to peer into and no basement to check for dampness. Moisture, height swings and old adhesive residue sit quietly under the finished floor and stay invisible until the day you pull up the old material and find them. This guide covers what you’ll actually find under a floor in Boulder City, how to read a moisture test, what a flatness tolerance means in plain terms, and how underlayment choices hold up against a slab that heats and cools every day.
Quick Answer
The subfloor is the structural layer under your finished floor, and in most Boulder City homes it’s a concrete slab poured directly on grade. Your new floor’s compatibility depends on three things: how much moisture is moving through that slab, how flat it is, and what’s left on it from the previous floor. Getting those three right before installation is what separates a floor that lasts from one that pops, squeaks or tents within a couple of years.
Styles & brands we work with
- Hardwood
- Engineered hardwood
- Luxury vinyl plank
- Laminate
- Porcelain tile
- Carpet
- Shaw
- Mohawk
- COREtec
- Pergo
Table of Contents
- The Three Subfloor Types in Boulder City Homes
- How to Read a Moisture Test on a Slab
- Slab Flatness: What 3/16 Inch Over 10 Feet Actually Means
- Grind, Float, or Remove: Deciding What to Do With Old Tile
- Underlayment and Moisture Barriers That Actually Hold Up
- Which Flooring Works Over Which Subfloor
- Why Dry Desert Air Can Hide a Wet Slab
- How Subfloor Prep Fits Into an Installation Timeline
The Three Subfloor Types in Boulder City Homes
Almost every floor we install in Boulder City sits on one of three substrates. Knowing which one you have determines everything else in the estimate, from what prep is needed to which products are even an option.
1. Bare concrete slab
This is the most common situation in Boulder City. The concrete is poured on grade, often with a vapor barrier beneath it, and the finished floor goes down directly on top. Bare slab is the simplest starting point, but it’s also where moisture and flatness problems are easiest to miss. There’s no wood to inspect for rot and no access panel to check the underside.
2. Concrete with tile or adhesive residue
Pull up an older tile floor and you’ll often find thinset ridges, patch compound, or a layer of black mastic still bonded to the slab. This layer matters. Adhesive residue can react with new adhesive, and old thinset ridges create high spots that telegraph through a floating floor. The prep scope depends on what’s there and how well it’s bonded, which is a judgment made at the estimate visit rather than over the phone.
3. Wood subfloor over a stem wall
Some Boulder City homes, particularly older construction and additions, use a wood subfloor framed over a stem wall. This creates a shallow void between the soil and the floor structure. Wood subfloors bring their own checklist: sheathing condition, fastener tightness, deflection, and whether the void below is vented or sealed. Squeaks and soft spots in these homes usually trace back to the framing rather than the finished floor.
Each substrate has a different prep path. In our experience, the single most useful thing a homeowner can do before requesting an estimate is to know which of the three they have, because it changes the conversation immediately. If you’re not sure, pull a floor register or lift a corner of carpet in a closet to see what’s underneath. For a wider look at how these substrates feed into a full project, see our flooring Boulder City overview.
How to Read a Moisture Test on a Slab
A moisture test tells you how much water vapor is moving through the concrete, not how wet the surface feels. That distinction matters in Boulder City, where the surface of a slab can feel bone dry while vapor is still migrating upward from the soil below. Two tests are common: a calcium chloride test, which measures the rate of vapor emission, and an in-situ relative humidity probe, which measures moisture inside the slab itself.
Here’s how to think about the numbers rather than memorizing them:
- The reading is compared to the flooring manufacturer’s specification, not to a general rule. Every product has its own allowable moisture threshold, and the product instructions and the written estimate set what applies to your job. A reading that’s fine for one floor can be disqualifying for another.
- A low reading doesn’t mean no barrier is needed. Concrete continues to emit vapor for a long time, and the slab will see seasonal swings. A barrier or vapor-retarding underlayment is often specified even when the initial reading is comfortable.
- A high reading isn’t a dead end. It usually means a specific moisture barrier or adhesive system is required, and that requirement gets built into the estimate rather than discovered on install day.
- Test in more than one spot. Slabs don’t behave uniformly. Areas near exterior walls, under kitchens, and around plumbing penetrations often read differently from the middle of a living room.
The takeaway: a moisture test is a decision input, not a pass/fail verdict. It’s read against the product going down, and the reading is one of the reasons a written estimate is more useful than a phone quote.
Slab Flatness: What 3/16 Inch Over 10 Feet Actually Means
A 3/16-inch variation over a 10-foot span is roughly the thickness of four stacked dimes. That sounds trivial. It isn’t. Flooring products are manufactured to tight tolerances, and a slab that drifts beyond the product’s flatness specification will show it in specific, predictable ways: hollow spots under a floating floor, lippage at plank seams, rocking tiles, and a springy feel underfoot.
Flatness is not the same as level. A slab can slope gently and still be flat. What matters is whether there are highs and lows within a short distance, because those are what a rigid floor can’t bridge. A laser or a long straightedge run across the room reveals them; eyeballing a floor never does.
What self-leveling compound actually involves
Self-leveling compound is a pourable cementitious mix that flows out and cures to a flat plane. It’s not a skim coat and it’s not fast or casual work. The sequence generally looks like this:
- Clean and prime. The slab has to be free of dust, curing compounds and loose material, then primed so the compound bonds rather than beads up.
- Establish edges and dams. The pour is contained at doorways and transitions so it doesn’t escape into adjacent rooms.
- Mix and pour in sections. Larger rooms are poured in manageable batches that flow together before they set.
- Spread and release air. A gauge rake moves the material, and a spiked roller releases trapped air that would otherwise leave pinholes.
- Cure before flooring goes down. The compound has to reach a stable condition before installation, and the cure window depends on the product and the depth of the pour.
Self-leveling compound adds height, and that matters at every doorway, at the base of stairs, and where the new floor meets an adjacent room. In our experience, the height conversation is the one homeowners most often wish they’d had earlier. If you’re planning a whole-home project, it’s worth mapping floor height transitions room by room before committing to a product.
Grind, Float, or Remove: Deciding What to Do With Old Tile
Pulling up a tile floor is one of the most consequential decisions in a renovation, and it’s not always the right one. There are three legitimate approaches, each with real trade-offs in cost, timeline and final floor height. Which one applies depends on how well the tile is bonded, how flat the assembly is, and what’s going on top.
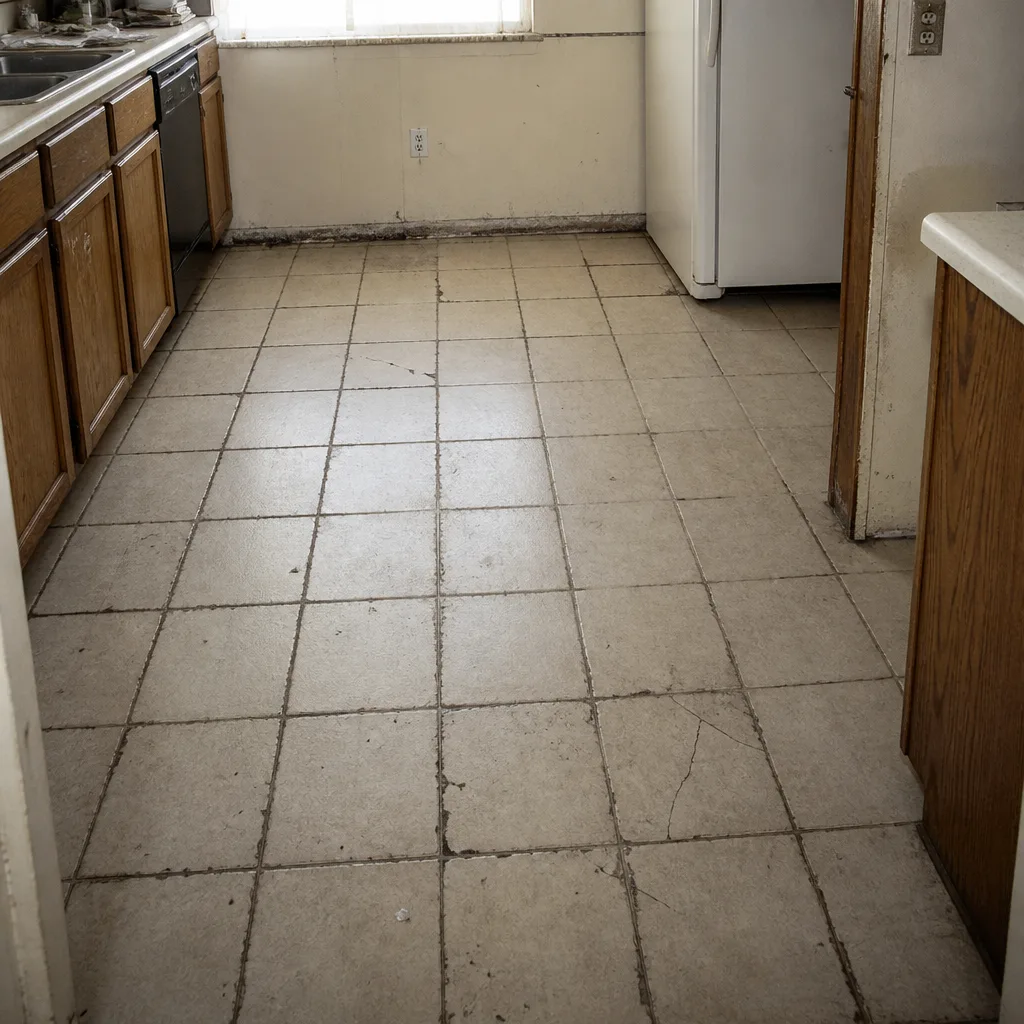
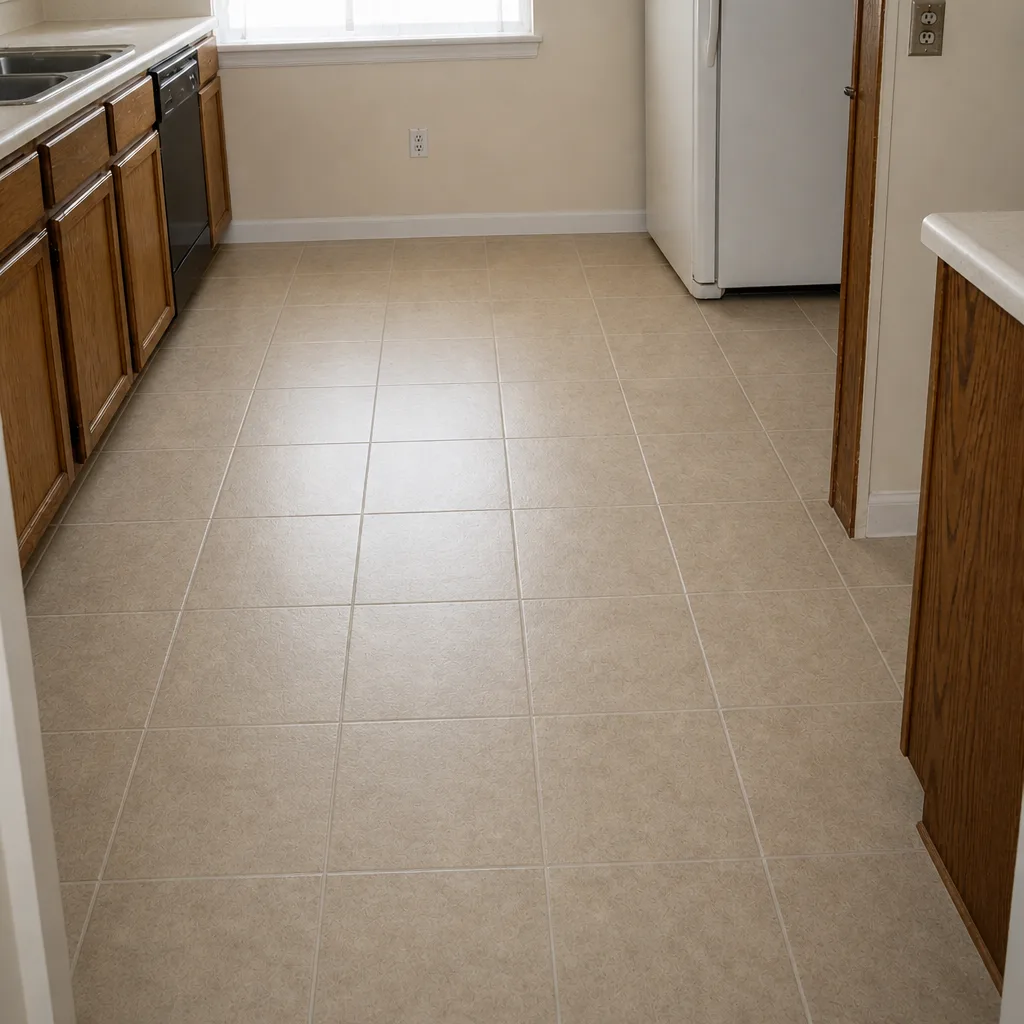
- Grind down to the slab. This removes thinset and adhesive residue and gets you back to bare concrete. It’s the cleanest starting point for a new floor and the most predictable for moisture barriers, but it’s dusty, slow work and generates a lot of material. It also opens the door to discovering slab issues that were hidden under the tile.
- Float over the tile. A floating floor with an appropriate underlayment can sometimes go directly over an existing tile floor, provided the tile is sound, well-bonded, and the grout lines won’t telegraph through. This saves time and demolition cost, but it raises the finished floor height, which affects door clearances and transitions.
- Fully remove the tile and thinset. This is the most thorough option and the most disruptive. It’s usually the right call when the tile is already loose, when there are cracked or hollow tiles, or when the new floor requires a bare slab for its moisture system.
The trade-off that catches people is height. Floating over tile can add a quarter inch or more to the finished floor, and that quarter inch shows up at every doorway, closet track and stair nosing in the house. Removing the tile keeps the height closer to original but costs more in labor and time. Grinding sits somewhere between. None of these can be chosen reliably without seeing the floor, which is why the estimate visit is where the decision gets made.
Underlayment and Moisture Barriers That Actually Hold Up
Underlayment does three jobs: it cushions, it separates the finished floor from the substrate, and in some cases it manages moisture. The cheap peel-and-stick foam products are where a lot of floors go wrong, and Boulder City’s slabs make that failure mode more likely than in mild climates.
The reason is temperature cycling. A slab-on-grade in the desert gains and loses heat daily, and the slab also transfers ground temperature. That movement works on the adhesive layer of a thin peel-and-stick underlayment, and the bond can degrade over time. Once the underlayment detaches, the finished floor above it starts to float unevenly, and the symptoms are the ones homeowners describe as “the floor feels loose.”
What to look for in an underlayment
- A vapor-retarding layer when the product requires one. Not all underlayments manage moisture, and the specification depends on the flooring above it.
- Compatibility with the flooring product. Manufacturers publish which underlayments are approved for their floors. Using an unapproved underlayment can affect the product’s performance.
- Acoustic and cushioning properties. These matter for comfort and sound transmission, particularly in second-floor rooms and over framed subfloors.
- Adhesion method appropriate to the slab. Full-spread adhesive, loose-lay with perimeter attachment, and floating systems each have different requirements.
For LVP, brands like COREtec, LifeProof and Karndean each publish their own underlayment guidance, and some of their products incorporate an attached pad. When you’re comparing luxury vinyl options, part of the comparison is which underlayment system the product expects, because that affects the total job scope. Our carpet installation work has its own cushion and tack strip considerations, and the same principle applies: the layer under the surface is where the longevity is decided.
Which Flooring Works Over Which Subfloor
Not every floor belongs on every substrate. This is where subfloor literacy pays off, because the right pairing is the difference between a floor that settles in and one that fights its base. Here’s how the main categories line up in Boulder City homes.
Concrete slab
- Luxury vinyl plank. COREtec, LifeProof and Karndean all make LVP that performs well over slab, provided the flatness and moisture requirements are met. These products are water-resistant, not waterproof, and standing water still has to be managed.
- Tile. Ceramic and porcelain tile over slab need proper bonding and crack isolation where the slab has control joints or movement. Daltile’s porcelain and ceramic lines are suited to this application.
- Carpet. Carpet goes over slab with an appropriate cushion, and the moisture question still applies. This is where a lot of DIY carpet installs miss the vapor piece.
- Hardwood. Solid hardwood over slab is difficult because of moisture, and engineered hardwood is more common in this situation. The product instructions and the estimate visit determine whether it’s viable.
Wood subfloor over stem wall
- Hardwood and engineered wood. This is the natural pairing. Deflection, fastener tightness and the condition of the sheathing are the things to verify first.
- Carpet and LVP. Both work well over a sound wood subfloor, with the same caveats about flatness and the condition of the sheathing.
- Tile. Tile over wood requires a rigid substrate, and deflection is the deciding factor. An uncoupling system is often part of the specification.
Existing hardwood that’s worn but structurally sound is a different conversation than a new install. Before you replace, it’s worth asking whether the floor can be refinished instead. Our tile flooring installation work often starts with exactly this question about what’s under the existing floor.
Why Dry Desert Air Can Hide a Wet Slab
Boulder City sits in a desert climate with low ambient humidity, which is good for a lot of things and misleading for subfloor moisture. Here’s the mechanism: dry air pulls moisture off the surface of the concrete through evaporation. The slab feels dry to the touch, the room feels dry, and nothing suggests a problem. But vapor can still be migrating upward from the soil beneath the slab, and if the finished floor traps that vapor, the damage happens from below.
This is why a moisture test is worth doing even when everything looks fine. The visible surface tells you about evaporation, not about what’s inside the slab. The two are different readings.
Seasonal timing also matters. Slabs behave differently across the year, and a reading taken during a cool, dry stretch may not represent what the slab does at the height of summer. That’s one reason a written estimate accounts for the product’s moisture requirements rather than a single snapshot reading. When a floor fails, it usually fails at a seam or an edge first, where the vapor has nowhere to go.
Karndean’s luxury vinyl art tile is one of the products we discuss often in this context, because designer-grade patterning is no use if the underlayment system doesn’t manage the slab correctly. The finish gets noticed; the barrier underneath is what gets blamed when something goes wrong. If you want to talk through what your slab is doing, our Boulder City service information is a starting point.
How Subfloor Prep Fits Into an Installation Timeline
Subfloor prep is the part of an installation that isn’t visible in the finished photos, which makes it easy to underestimate. The realistic sequence for a scheduled job looks like this:
- Free in-home measure and estimate. We look at the substrate, note moisture and flatness conditions, and identify what’s under the existing floor.
- Written price. The estimate spells out the prep scope, the product, the underlayment system, and the final price. The written estimate sets the final price.
- Test and confirm. Moisture and flatness are confirmed against the specific product’s requirements before the install day is booked.
- Prepare the substrate. Grinding, patching, self-leveling or barrier application, depending on what the estimate calls for.
- Book the install day. The schedule is set at the estimate, and the prep work and the flooring are sequenced so the floor goes down on a stable base.
The prep portion can be the longest part of the job, and it’s the part that determines whether the finished floor performs. In our experience, a homeowner who understands the prep sequence makes better decisions about which product to choose, because the comparison shifts from “which floor looks better” to “which floor suits this slab.”
Common Mistakes to Avoid
- Skipping the moisture test because the slab feels dry. Surface dryness in a desert climate says very little about vapor movement inside the concrete, and the reading is what the product specification is compared against.
- Choosing the floor before checking the subfloor. Products have different flatness and moisture requirements, so picking the floor first can mean discovering the slab doesn’t support it after the material is already ordered.
- Using cheap peel-and-stick underlayment on a temperature-cycling slab. The adhesive layer can degrade as the slab heats and cools, and the finished floor above it starts to float unevenly.
- Forgetting that floating over old tile raises the floor height. Door clearances, closet tracks and stair nosings are usually the first things to reveal an unplanned height change.
- Treating self-leveling compound as a quick skim coat. It’s a priming, pouring, spreading and curing process, and the cure window matters before flooring goes down.
- Assuming “water-resistant” means “waterproof.” LVP is water-resistant, but standing water and moisture from below still have to be dealt with.
- Pulling up tile without a plan for what’s underneath. Removing the tile can uncover slab issues that the estimate didn’t anticipate, which is why the substrate inspection happens first.
See the difference
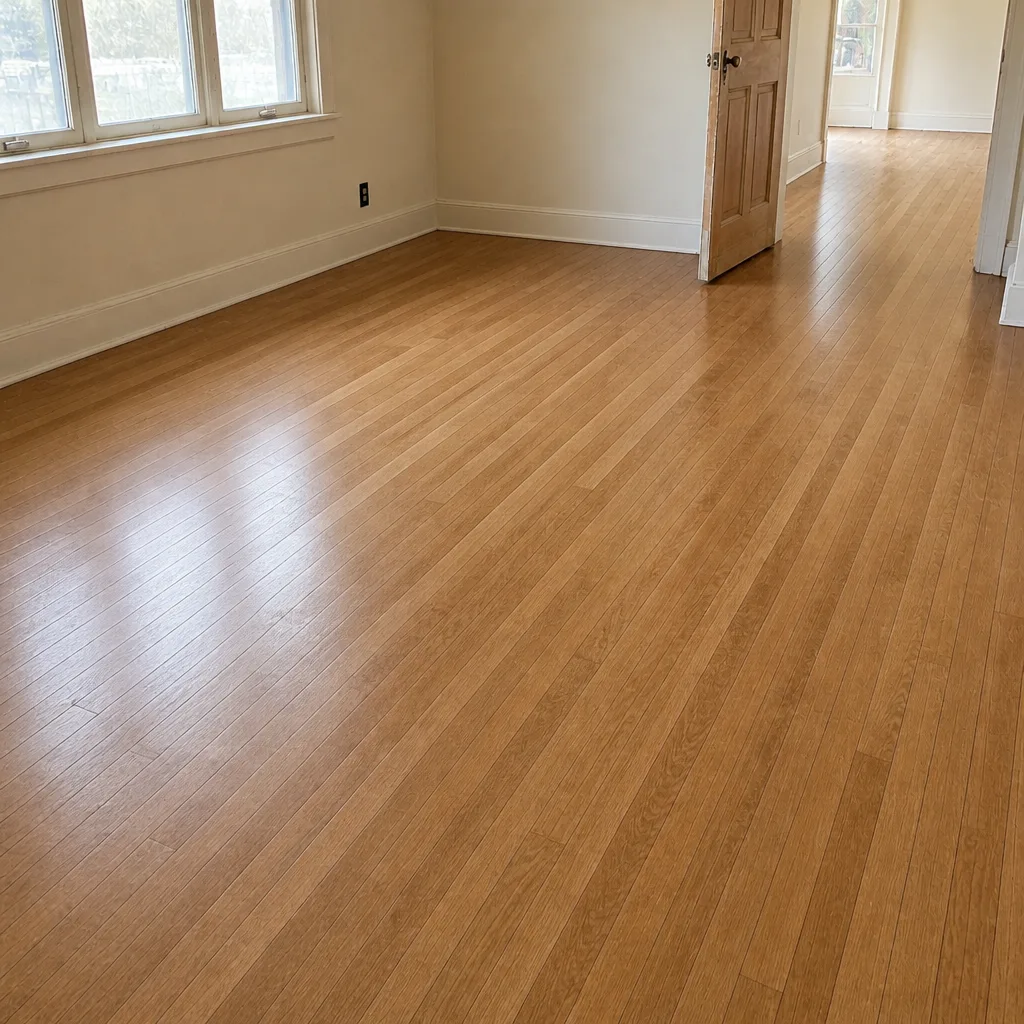
 Before
 After
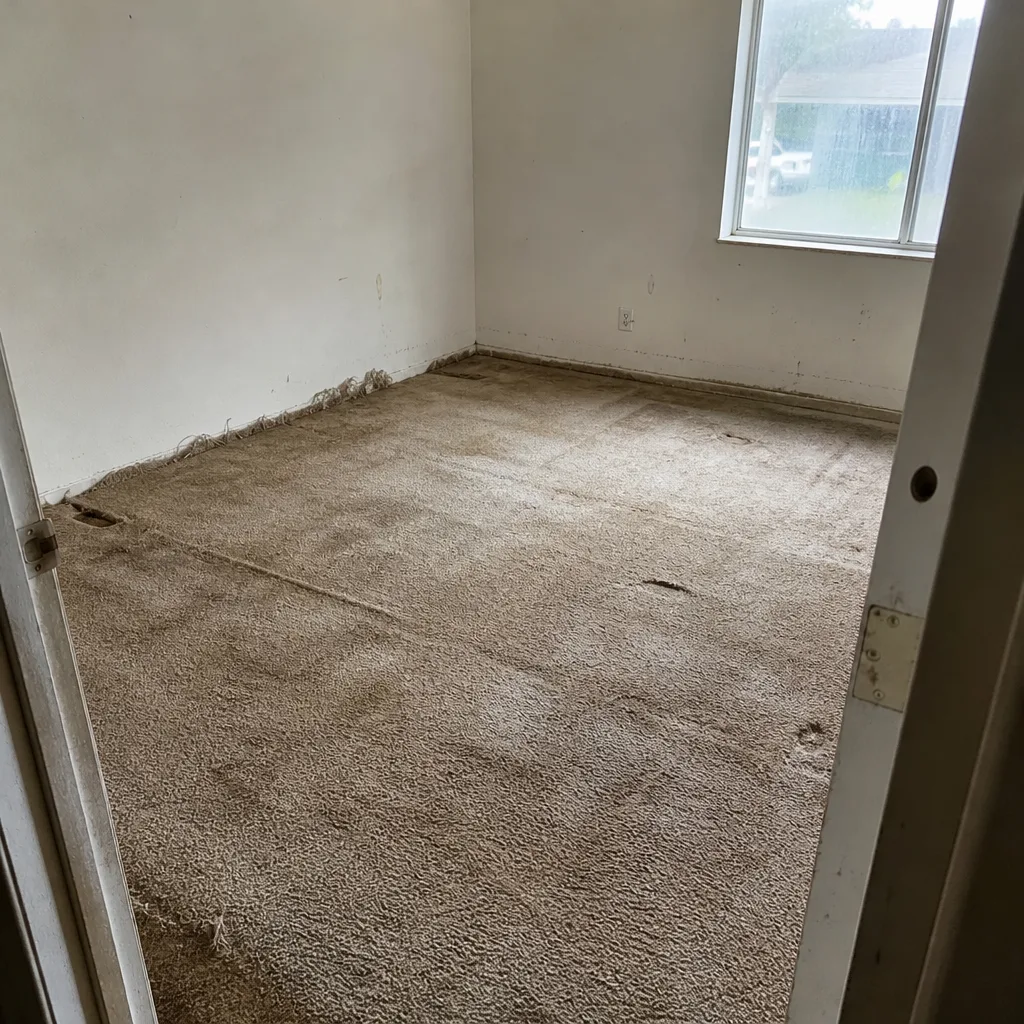
 Before
 After
 Before
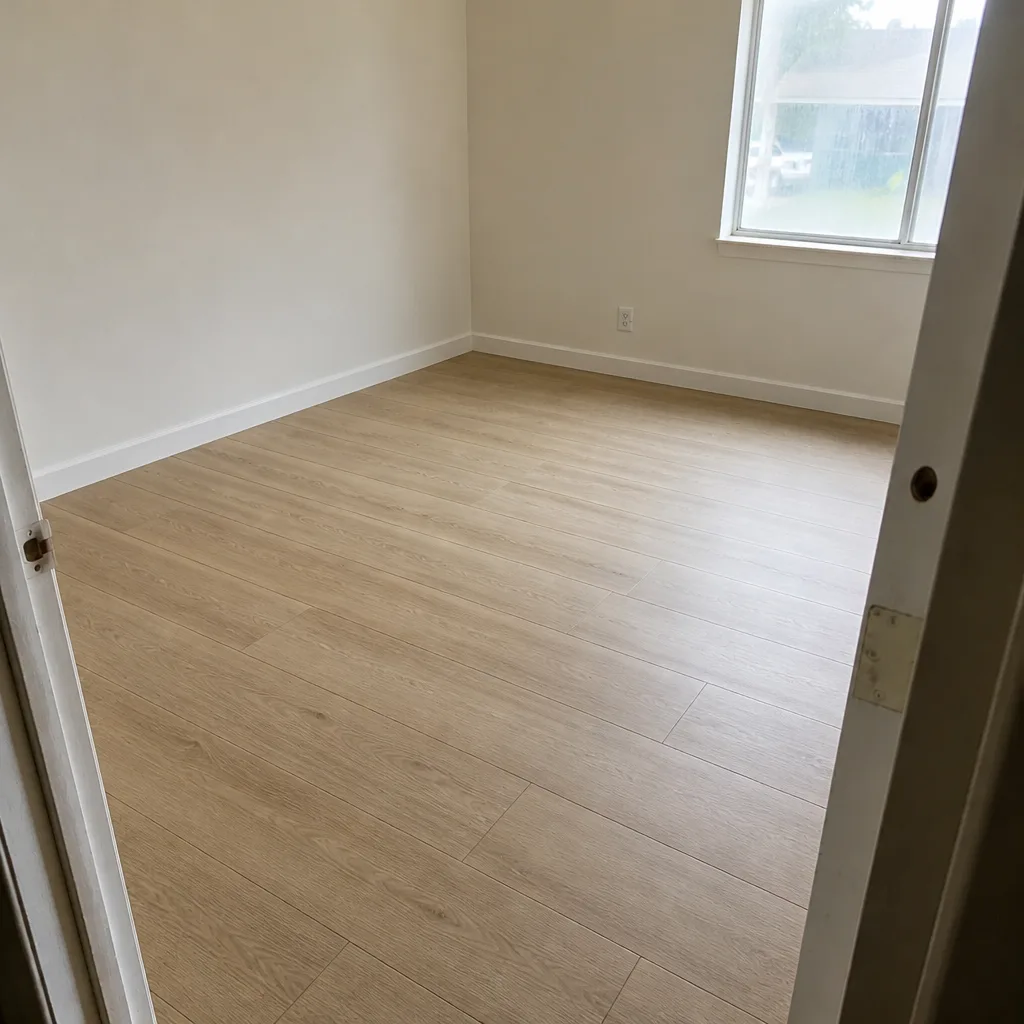 After
When to Call a Professional
Some subfloor decisions are genuinely easy: pulling carpet staples, clearing debris, confirming which substrate you have. Others are where a free estimate saves you from an expensive mistake. Call us when you’re weighing whether to grind, float or fully remove an old tile floor, when a moisture reading has come back high and you’re not sure what it means for your product choice, or when a slab has visible cracks, control joints or height swings that need to be assessed against a specific floor’s requirements. Also call before ordering material for a whole-home project, because the product selection and the prep scope need to be decided together. We’ll put the prep and the product into one written price so there are no surprises on install day. We can work with your insurer if a moisture issue has caused damage that may be covered.
Flooring Boulder City offers free estimates in Boulder City. Call (833) 842-8455. We answer 24/7. Fast dispatch from 7am to 7pm, Sunday through Friday. Our technicians have up to 11 years of experience, and we install and service the floor you choose from the brands we carry, including Shaw, Mohawk, COREtec, Pergo, LifeProof, Mannington, Armstrong, Daltile and Karndean.
Frequently Asked Questions
The subfloor is the structural surface under your finished flooring, and in most Boulder City homes it’s a concrete slab. It matters because every flooring product has requirements for moisture, flatness and substrate condition, and the subfloor is where those requirements are either met or missed. A floor that fails usually does so because of the base, not the finish.
Most homes here are slab-on-grade, so you’ll find bare concrete, concrete with old tile or adhesive residue, or a wood subfloor over a stem wall in older construction and additions. Lifting a floor register or a corner of carpet in a closet usually answers the question. If you’re unsure, the estimate visit confirms it before any product decisions are made.
No. Dry desert air pulls moisture off the slab surface through evaporation, so the concrete can feel completely dry while vapor is still moving through it from the soil below. A moisture test reads what’s happening inside the slab, which is what the flooring product’s specification is compared against.
It means the slab can’t vary more than about the thickness of four stacked dimes across a 10-foot span. Flooring products are rigid, and a slab that drifts beyond the product’s flatness specification causes hollow spots, seam lippage and rocking tiles. Flatness is checked with a long straightedge or laser, not by eye.
Sometimes, if the tile is sound and well-bonded and the grout lines won’t telegraph through the new floor. Floating over tile raises the finished floor height, which affects door clearances and transitions. Grinding down to bare slab or fully removing the tile are the other options, and the right one depends on the condition of the existing floor.
Yes. The estimate is free, and we measure in your home, check the substrate and put the prep scope and the product into one written price. Call (833) 842-8455. We answer 24/7. Fast dispatch from 7am to 7pm, Sunday through Friday. The written estimate sets the final price.
The Bottom Line
The floor you see is the last step, not the first. In Boulder City’s slab-on-grade homes, the things that determine whether a new floor holds up are invisible until you look for them: moisture moving through the concrete, flatness within a 3/16-inch tolerance over 10 feet, adhesive residue left by the previous floor, and an underlayment system that can handle a slab cycling through desert temperature swings. None of that is complicated once you know what to look for, and none of it can be guessed from the surface. If you’re planning a floor in Boulder City, the most useful first step is a free in-home estimate that looks at the base before the product. Call (833) 842-8455 to schedule your free estimate. We answer 24/7, with fast dispatch from 7am to 7pm, Sunday through Friday.
Written by the team at Flooring Boulder City.